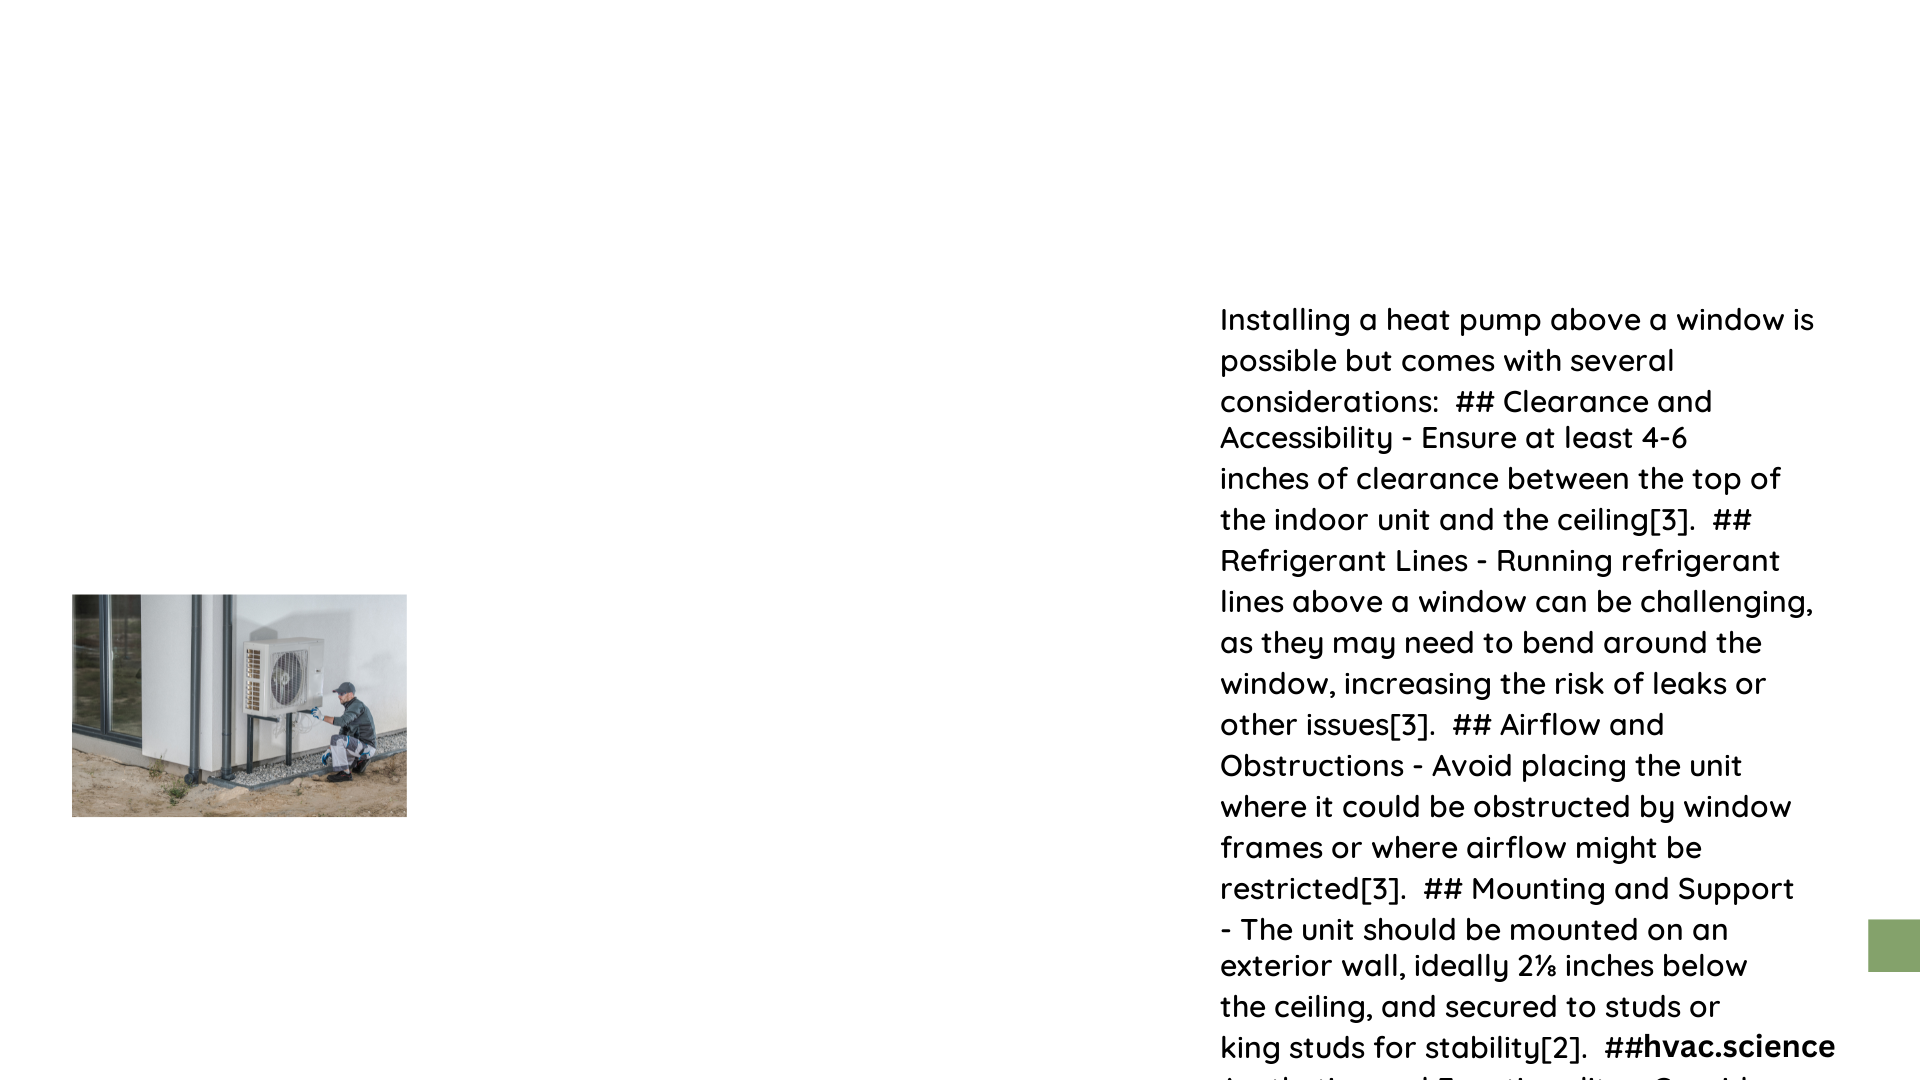
Installing a heat pump above a window requires precise planning and technical understanding. Homeowners seeking efficient heating and cooling solutions must navigate complex installation requirements involving spatial considerations, mounting techniques, and energy performance metrics. This comprehensive guide provides expert insights into successfully positioning and installing heat pumps to maximize comfort and minimize energy consumption.
What Are the Critical Clearance Requirements?
When installing a heat pump above a window, understanding precise clearance specifications is crucial. Professional installers recommend maintaining specific spatial parameters to ensure optimal performance and longevity.
Recommended Clearance Measurements
| Location | Minimum Clearance | Purpose |
|---|---|---|
| Top of Unit | 6 inches from ceiling | Airflow circulation |
| Surrounding Area | 1-2 meters | Unrestricted air movement |
| Ground Elevation | 9 inches | Snow and ice protection |
How Do Window Size and BTU Ratings Impact Installation?

Window heat pump installation depends significantly on room dimensions and energy requirements. Professionals utilize a systematic approach to determine appropriate unit specifications:
BTU Calculation Guidelines
- 20 BTUs per square foot of space
- Small rooms: 5,000-7,000 BTU units
- Large rooms: 10,000-14,000 BTU units
What Mounting Options Exist for Window Heat Pumps?
Several mounting strategies can be employed when installing heat pumps above windows:
- Bracket-Based Mounting
- Use sturdy, weight-rated mounting brackets
- Ensure secure wall attachment
-
Support unit’s total weight (50-150 pounds)
-
Elevated Platform Installation
- Utilize composite or concrete pads
- Maintain level positioning
- Absorb potential vibrations
What Performance Considerations Matter?
Efficiency Metrics to Evaluate
- SEER (Seasonal Energy Efficiency Ratio)
- HSPF (Heating Seasonal Performance Factor)
- Energy savings potential: 30-50% reduction in utility costs
What Challenges Might Homeowners Face?
Potential installation challenges include:
– Restricted airflow
– Inadequate drainage
– Noise transmission
– Wind and weather exposure
Pro Tips for Successful Installation
✅ Consult local building codes
✅ Verify manufacturer specifications
✅ Consider aesthetic placement
✅ Prioritize professional assessment
Technical Recommendations
- Maintain minimum 1-2 meter clearance around unit
- Elevate unit above anticipated snow levels
- Choose inconspicuous installation locations
- Ensure proper electrical and refrigerant line connections
Energy Efficiency Insights
Window heat pumps offer remarkable benefits:
– Dual heating/cooling functionality
– Reduced energy consumption
– Improved indoor air circulation
– Compact design for space-constrained areas
Safety and Compliance
Always prioritize:
– Professional installation
– Manufacturer guidelines
– Local building regulations
– Proper electrical connections
Cost Considerations
Average installation costs range between $3,500 – $7,500, depending on:
– Unit complexity
– Home configuration
– Professional labor rates
– Additional modifications required
Maintenance Recommendations
- Quarterly filter cleaning
- Annual professional inspection
- Clear surrounding area regularly
- Monitor performance metrics
Final Thoughts
Successful heat pump installation above a window requires meticulous planning, technical knowledge, and strategic implementation. By understanding critical parameters and following expert guidelines, homeowners can achieve optimal heating and cooling performance.
