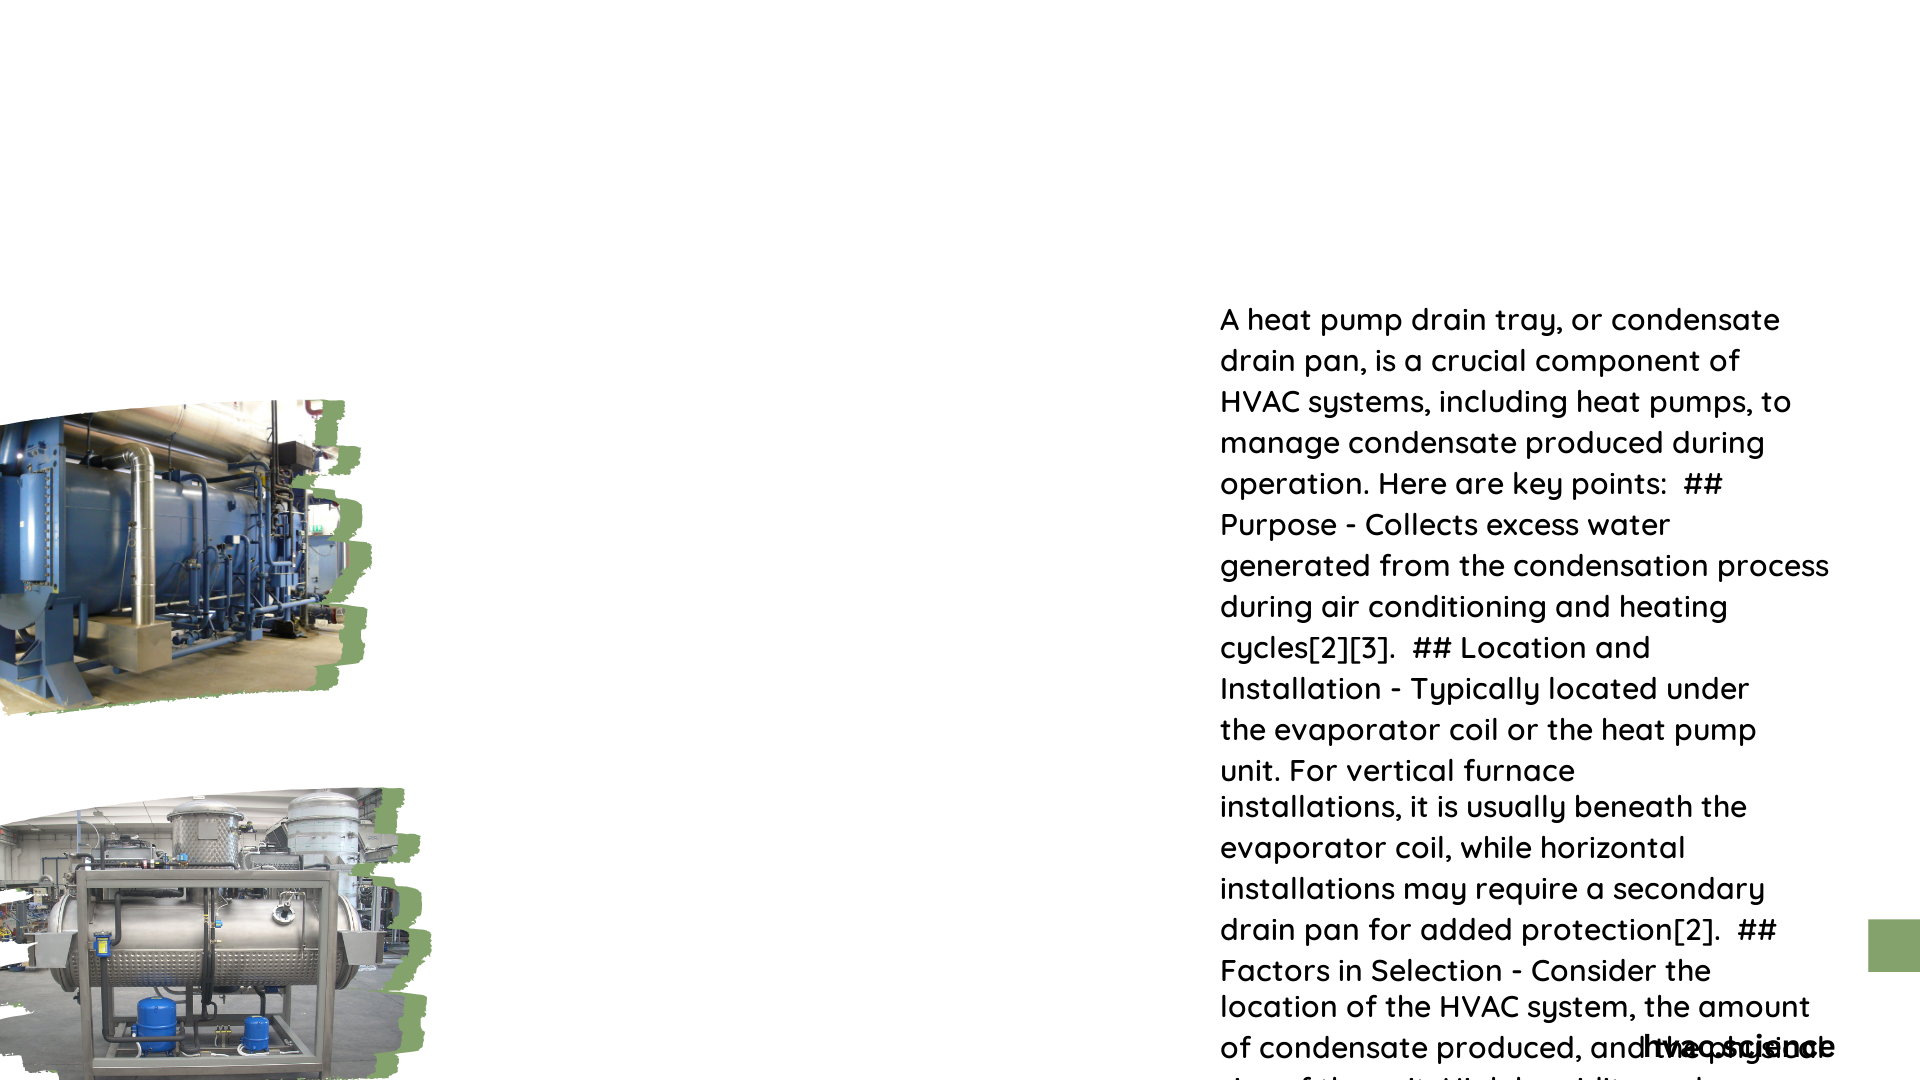
A heat pump drain tray is a crucial component in HVAC systems, designed to collect and safely dispose of condensate produced during the heat pump’s operation. This guide covers the dimensions, materials, installation process, maintenance practices, and cost analysis for heat pump drain trays, providing essential information for homeowners and HVAC professionals.
What are the Specific Dimensions and Materials for Heat Pump Drain Trays?
Heat pump drain trays come in various sizes and materials to accommodate different heat pump models and installation requirements. Here’s a breakdown of common dimensions and materials:
Dimensions
| Size | Dimensions | Common Materials |
|---|---|---|
| Small | 22\” x 22\” x 2\” | PVC, Galvanized Steel |
| Medium | 36\” x 36\” x 2.5\” | Galvanized Steel |
| Large | 44\” x 14\” x 2\” | Galvanized Steel, Stainless Steel |
Materials
- Galvanized Steel: Durable and corrosion-resistant, suitable for various sizes.
- Stainless Steel: Ideal for corrosive environments or specialized applications.
- PVC: Lightweight and easy to install, popular for residential use.
- Aluminum: Less common, used in specific applications like shower steam generators.
How to Install a Heat Pump Drain Tray Step-by-Step?

Installing a heat pump drain tray requires careful planning and execution. Follow these steps for a successful installation:
- Determine the Location:
- Place the drain tray under the heat pump to effectively collect condensate.
-
Consider the HVAC unit’s footprint and available space.
-
Measure and Cut Piping:
- Measure the distance from the drain tray to the disposal point.
-
Cut the piping material (PVC, copper, etc.) to the required length.
-
Install the Drain Tray:
- Position the tray under the heat pump, covering the full condensate production area.
-
Secure it to prevent movement if necessary.
-
Connect the Drain Piping:
- Attach the drain piping to the tray.
-
Ensure a slope of at least 1/8\” per foot for proper drainage.
-
Terminate the Drain Line:
- End the drain line in an approved disposal area (drywell, landscaped area, etc.).
-
Include an air gap to prevent backflow.
-
Test the System:
- Verify proper functioning and check for leaks.
Tools Needed:
- Drill and bits
- Measuring tape
- Level
- Pliers and wrenches
- Pipe cutters
- Safety gear (gloves and goggles)
Time Estimate: 2-6 hours, depending on complexity and installer experience.
Common Challenges:
– Ensuring proper slope and alignment
– Dealing with corrosive environments
– Managing condensate in cold climates
What are the Recommended Maintenance Practices for Heat Pump Drain Trays?
Regular maintenance is crucial for the longevity and efficiency of your heat pump drain tray system:
Frequency
- Inspect the drain tray and piping every 3-6 months.
- Clean the system annually or as needed.
Cleaning Techniques
- Use a vacuum to remove debris from the tray.
- Clear blockages in the piping with a plumbing snake or auger.
- Clean any filters or screens in the drain system.
Signs of Wear
- Rust or corrosion on metal trays
- Cracks in PVC trays
- Frequent clogging or blockages
- Water leakage around connections
What is the Cost Analysis for Heat Pump Drain Tray Replacement?
When considering a replacement, factor in these costs:
Average Prices by Material and Size
| Material | Small | Medium | Large |
|---|---|---|---|
| Galvanized Steel | $20-$50 | $40-$80 | $50-$100 |
| PVC | $15-$30 | $25-$50 | $40-$80 |
| Stainless Steel | $30-$60 | $40-$80 | N/A |
Additional Costs
- Labor: $100-$300
- Piping materials and fittings: $20-$100
- Drywell or disposal system installation: $100-$500
- Permits and inspections: $50-$200
By understanding these aspects of heat pump drain trays, you can ensure proper installation, maintenance, and replacement when necessary, contributing to the overall efficiency and longevity of your HVAC system.
